
MODKIT INTEL

Getting Started & SDK Setup
Introduction
This guide will walk you through the initial setup required to start building your own levels and missions. By the end of this page, you will have the editor running and be ready to explore your first sample map.
1. Installation
The Rogue Point Modkit is available to all owners of the game via Steam. It is categorized as a "Tool" rather than a game.
Open your Steam Library.
Click the Filter icon (above the search bar) and ensure the Tools checkbox is selected.
Search for "Rogue Point Modkit" in your list.
Select Install.
Note: Ensure you have at least 40GB of free space for the initial SDK and engine dependencies.
2. Launching the Editor
Once installed, click Launch from Steam.
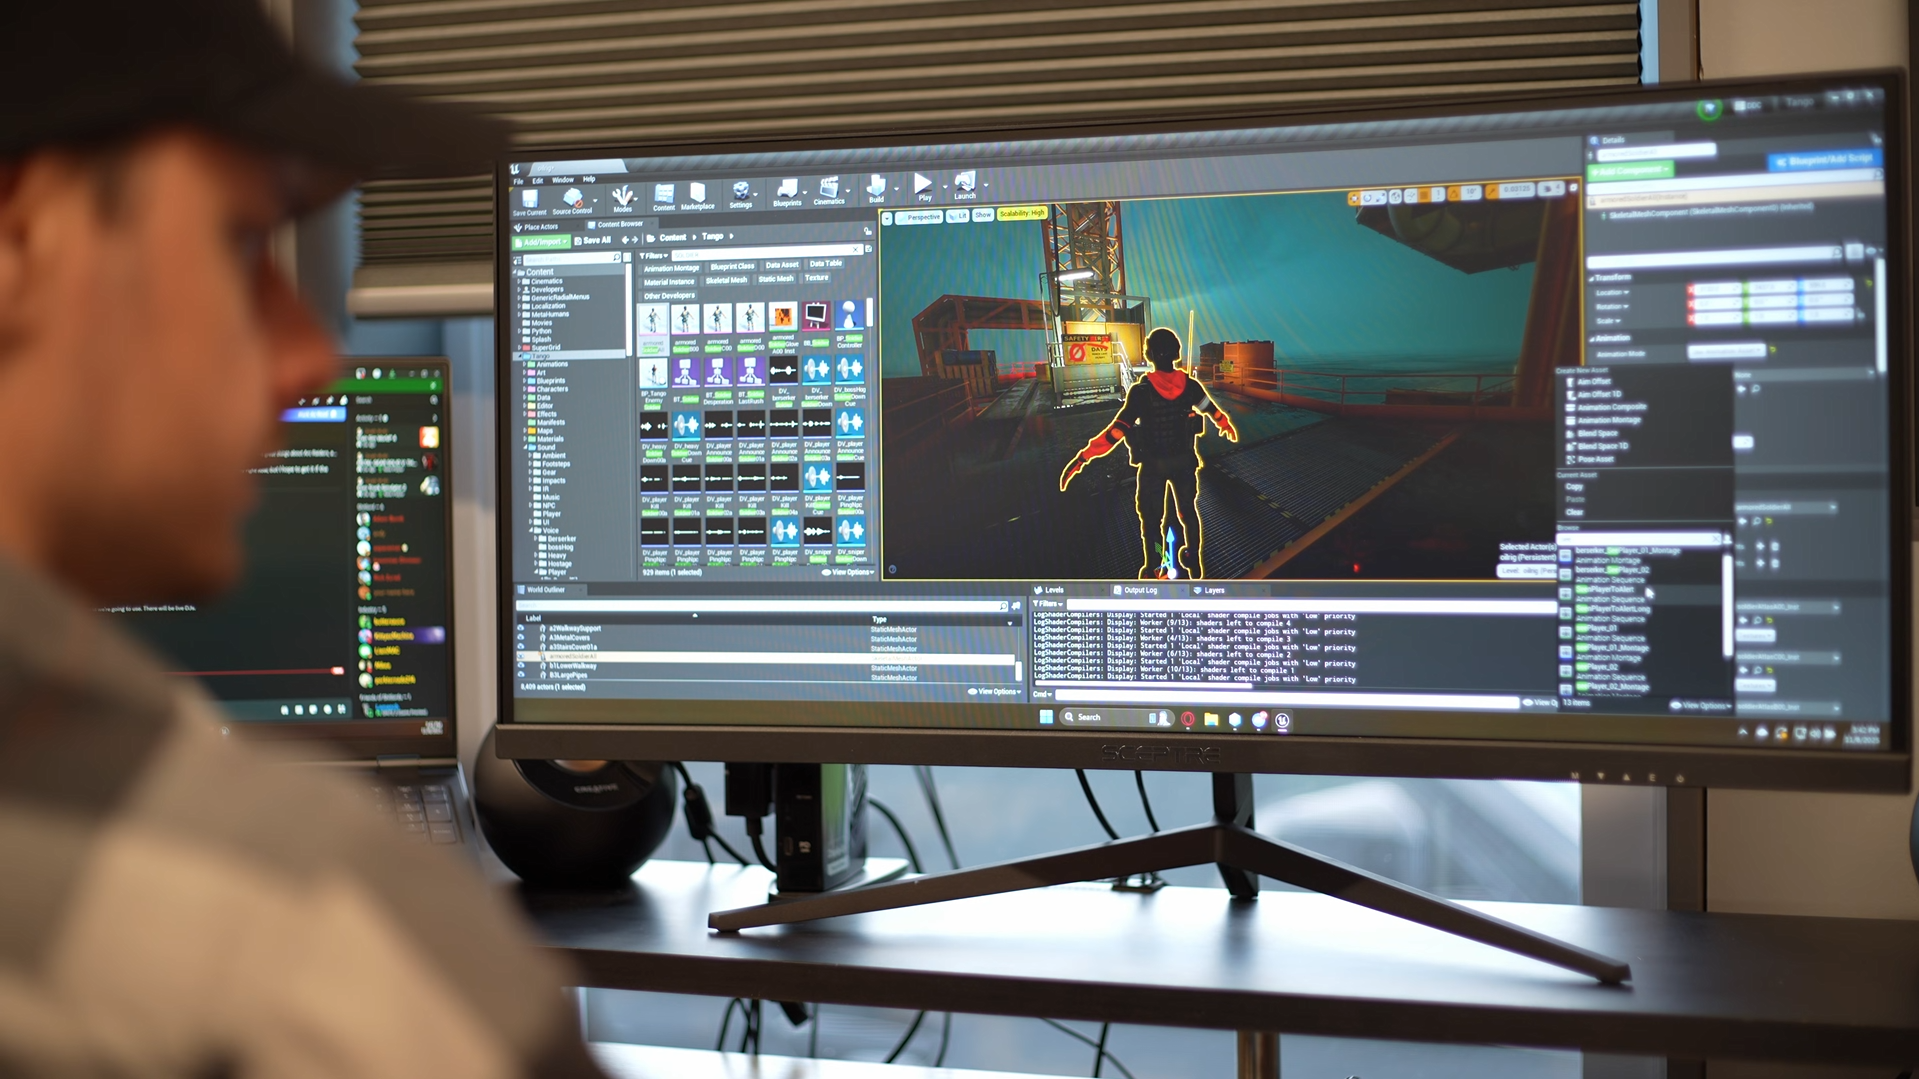
Unreal Engine Requirement: On the first launch, if you do not have Unreal Engine 4.27 installed, the launcher will prompt you to download it.
Setup: After downloading and installing Unreal 4.27, launch the Modkit from Steam again.
Initialization: The first launch may take several minutes as the editor compiles shaders and initializes the project environment.
3. Creating Your First Mod
Before you start building, you need to create a dedicated mod container to keep your work organized.
In the Editor toolbar, click the Create Mod button.
Fill out your mod details (Name, Author, Description) in the window that appears.
Enable Plugin Visibility: Mods are treated as Plugins by Unreal Engine. In the Content Browser, click Settings (gear icon) and ensure Show Plugin Content is enabled.
Navigate to your newly created mod folder under Plugins/[YourModName].
Create a mod by hitting the Create Mod button in the editor.
Mods will be treated as Plugins by Unreal. Make sure they’re visible by enabling the view option.
Fill out your mod details in the window that appears.
Navigate to your newly created mod folder in the Content Browser.
4. Basic Workflow
Create a Level: Create your new Level inside your mod folder. You can use the tangoDefault level as a base to ensure all necessary actors are present.
Play In Editor (PIE): Press the Play button at the top of the editor to test the map immediately.
Saving: Always save your work in your mod's folder to ensure it packages correctly later.
5. Exploring the Sample Content
We have included a sample map to help you understand how a Rogue Point mission is structured.
In the Content Browser, navigate to: Plugins/RoguePointModkit/Content/Maps/modSample.
Double-click modSample to load it.
What to look for: Observe the Level Layout Actor in the Outliner. This is the "brain" of your map that tells Rogue Point how to handle mission phases and objectives.
Modkit Home
Level Layouts & Campaign Intergration